
How to DIY Pressed Flowers: Easy Step-by-Step Guide | Molly Florist

How to DIY Pressed Flowers: Easy Step-by-Step Guide | Molly Florist

How to DIY Pressed Flowers: A Simple Step-by-Step Guide

Pressed flowers are a beautiful way to preserve a bouquet, birthday flower, anniversary bloom or a small memory from an ordinary day. The basic idea is simple: remove moisture while keeping the flower flat. With only fresh flowers, absorbent paper and a few heavy books, you can create delicate dried flowers for frames, cards, bookmarks, journals and handmade gifts.

Thin, relatively flat flowers usually press most easily. Pansies, violas, cosmos, daisies, asters, small hydrangea florets, ferns and leaves are good beginner choices. Thick, moisture-heavy flowers such as large roses and peonies are harder to press whole; separating petals or reducing the thickness can give better results.

What You Need :

  • Fresh flowers and leaves

  • plain absorbent paper or blotting paper
  • a large heavy book • extra books or another flat weight
  • scissors • tweezers (optional) 
  • a dry, well-ventilated place.


1. Choose Fresh, Dry Flowers
How to DIY pressed flowers step by step | Molly Florist Malaysia

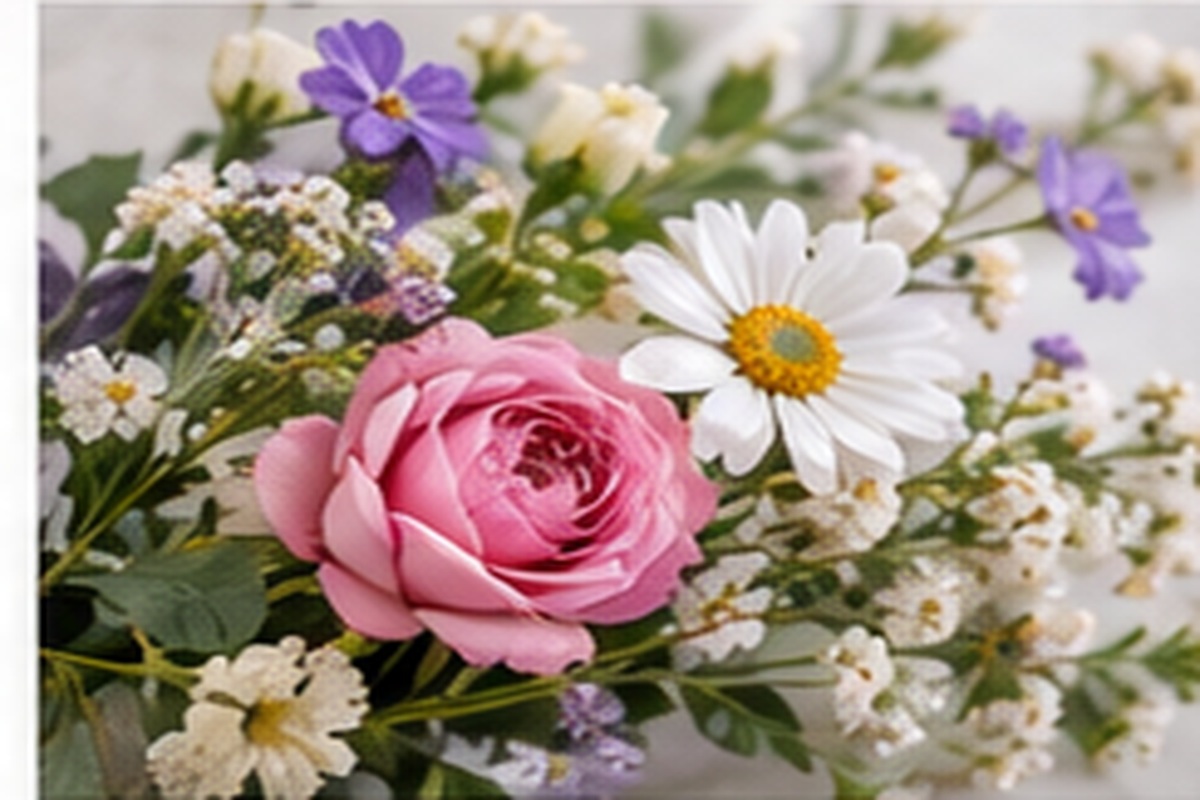
Choose flowers that are fresh and free from bruising. Avoid wet flowers. If you collect blooms outdoors, wait until surface moisture or morning dew has dried. Flat flowers and individual petals are easiest for beginners.


2. Prepare the Flowers
How to DIY pressed flowers step by step | Molly Florist Malaysia

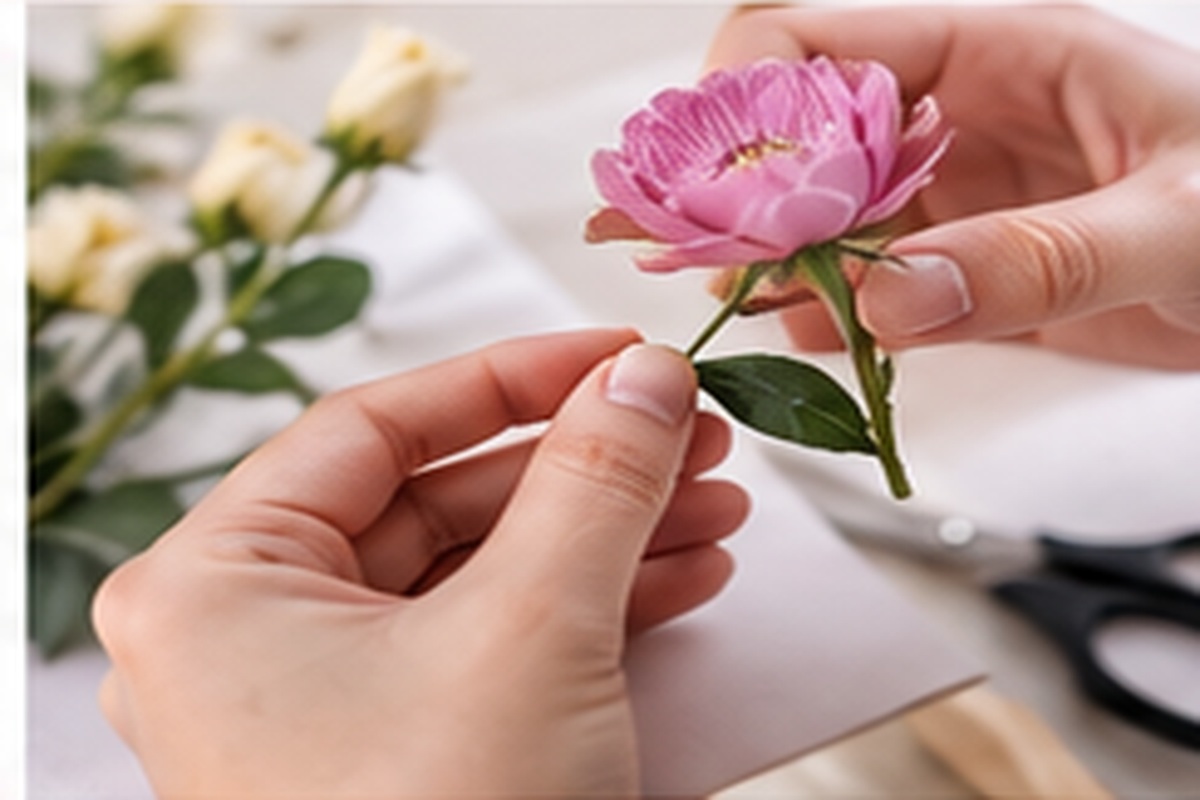
Trim away excess stems and leaves. Gently blot away any moisture. For thicker blooms, remove individual petals or carefully reduce the thickness rather than trying to squash a very bulky flower whole.


3. Arrange Between Absorbent Paper
How to DIY pressed flowers step by step | Molly Florist Malaysia

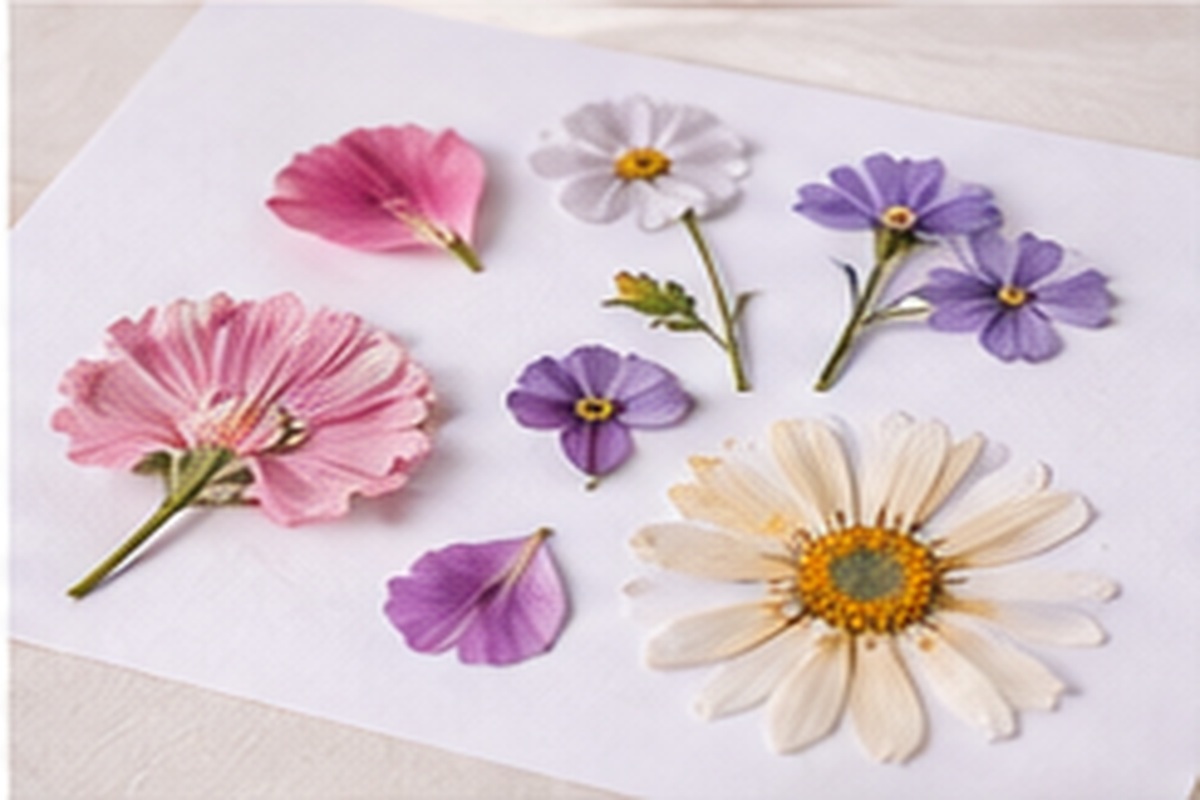
Open a heavy book and protect its pages with clean absorbent paper. Arrange the flowers face down or in the shape you want, leaving space between each specimen. Cover them with another sheet of paper.


4. Apply Even Pressure
How to DIY pressed flowers step by step | Molly Florist Malaysia

Close the book carefully so the flowers do not move. Stack several heavy books on top. Keep the press in a warm, dry place. Traditional book pressing generally takes around two to four weeks, depending on the flower and humidity.


5. Check, Change Paper & Store
How to DIY pressed flowers step by step | Molly Florist Malaysia

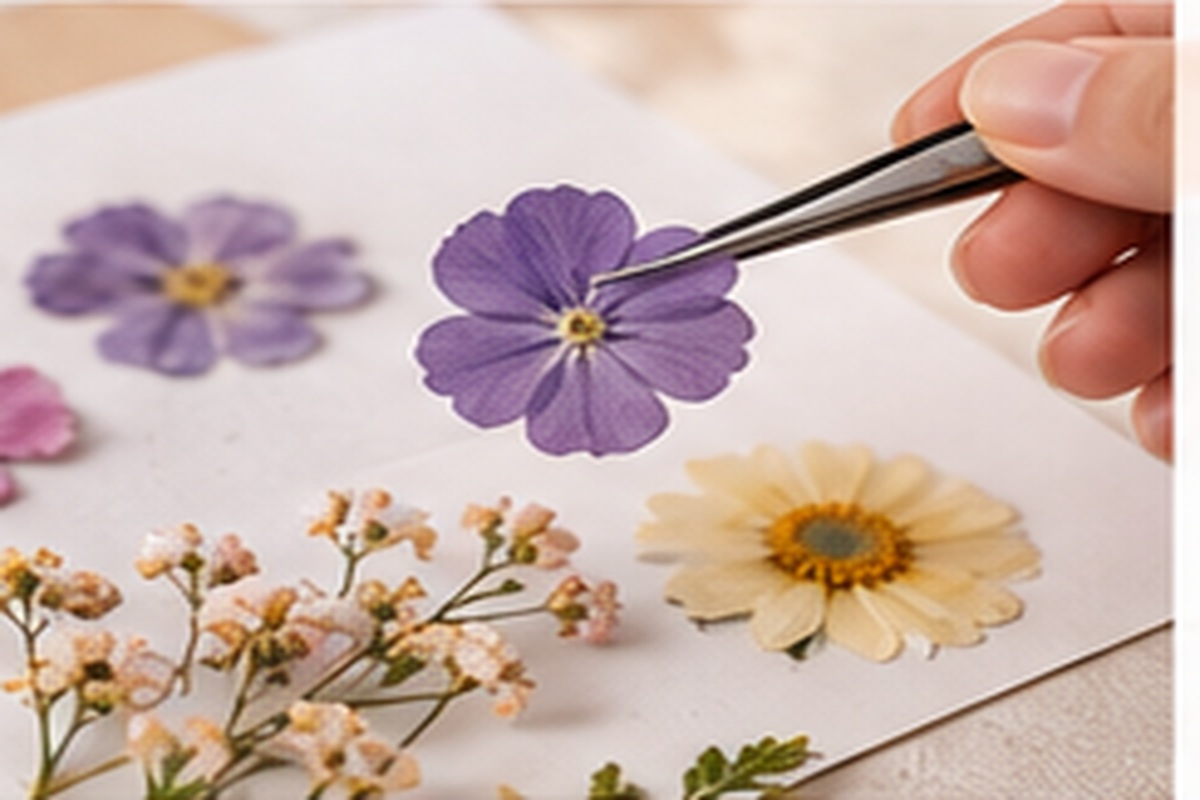
If the paper becomes damp, replace it carefully with dry sheets. The flowers are ready when they feel thin, papery and completely dry. Lift delicate petals with tweezers and store them flat, dry and away from direct sunlight.

6. Turn Them Into a DIY Project

How to DIY pressed flowers step by step | Molly Florist Malaysia

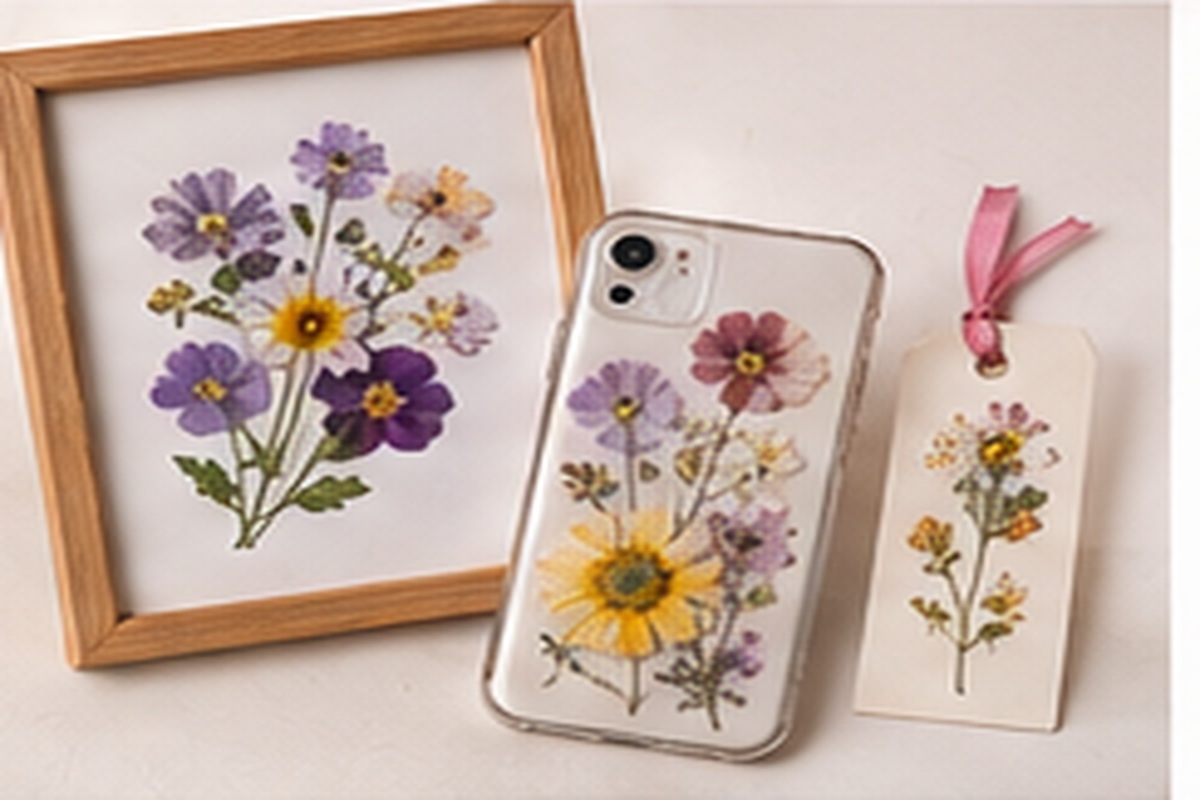
Use finished pressed flowers for framed botanical art, greeting cards, bookmarks, journals, gift tags or other paper crafts. Arrange everything before gluing because dried petals can be fragile.


3 Ways to Press Flowers

Book method - best for beginners :

Place flowers between absorbent paper inside a heavy book, add weight and allow roughly 2-4 weeks to dry. This slow method is inexpensive and gentle on delicate flowers.

Iron method - faster :

Sandwich a pre-flattened flower between suitable paper. Use a dry iron with steam switched off and low heat. Press rather than glide for short intervals, allowing the flower to cool between presses. Heat can change delicate colours, so start cautiously.

Microwave press - fastest :

A purpose-made microwave flower press can dry flowers in short bursts. DIY methods may use microwave-safe ceramic tiles and absorbent layers. Work in short intervals and allow cooling between bursts to avoid scorching. Never microwave books or materials containing metal.


Tips for Better Colour & Cleaner Results

Start with fresh, dry blooms; avoid overlapping petals; use clean paper; keep the press away from humidity; and do not rush to remove a flower while it still feels soft or leathery. Natural flower pigments will change over time, but keeping finished pieces dry and away from strong direct sunlight can help slow fading.

DIY Ideas for Pressed Flowers

Create a framed botanical arrangement, decorate handmade birthday cards, make personalised bookmarks, add flowers to scrapbook or journal pages, create gift tags, or preserve a meaningful bouquet as a keepsake. For Molly Florist customers, this can also be a lovely second life for flowers from a birthday, proposal, anniversary or celebration bouquet.


Frequently Asked Questions

How long does it take to press flowers in a book?

A common guideline is about two to four weeks. Drying time varies with flower thickness, moisture and humidity.

Which flowers are easiest to press?

Thin, flat blooms such as pansies, violas, cosmos and daisies, plus many small florets, ferns and leaves, are beginner-friendly.

Can I press roses?

Yes, but a full rose is thick and moisture-rich. Pressing individual petals, smaller roses or carefully reduced sections generally works better than pressing a large rose whole.

Why did my pressed flowers turn brown?

Common causes include excess moisture, flowers that are too thick, damp pressing paper, too much heat or insufficient airflow. Some natural colour change is unavoidable.